Serve Your Community with Confidence
New and Used Specialty Vehicles
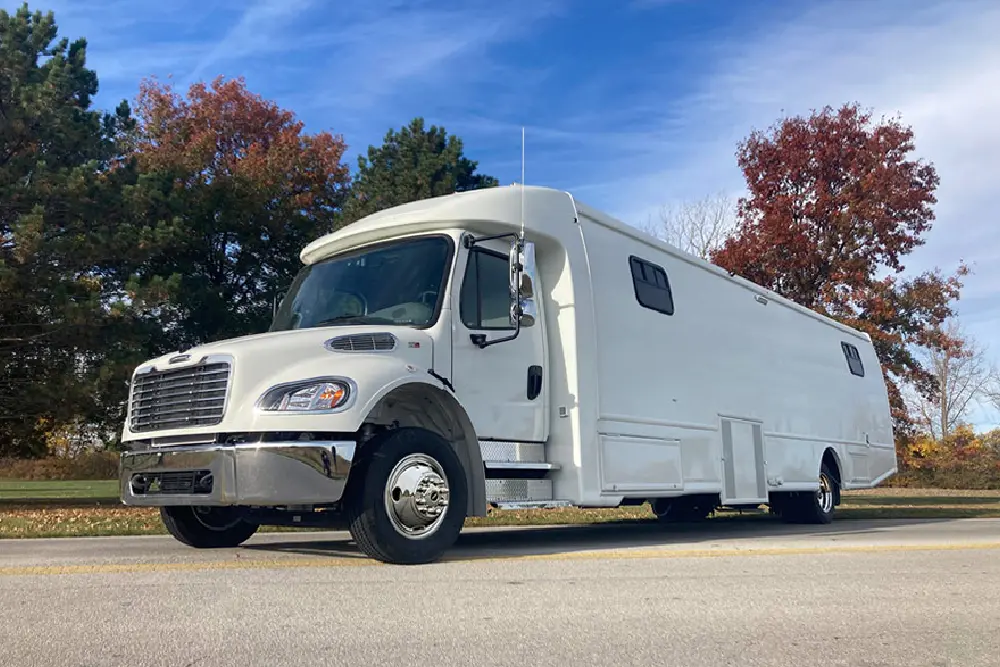
Through our TESCO family of companies, for over 50 years we’ve provided new and used mobile medical clinics and other specialty vehicles to meet the diverse needs of our customers.
Specialty Vehicles We Offer
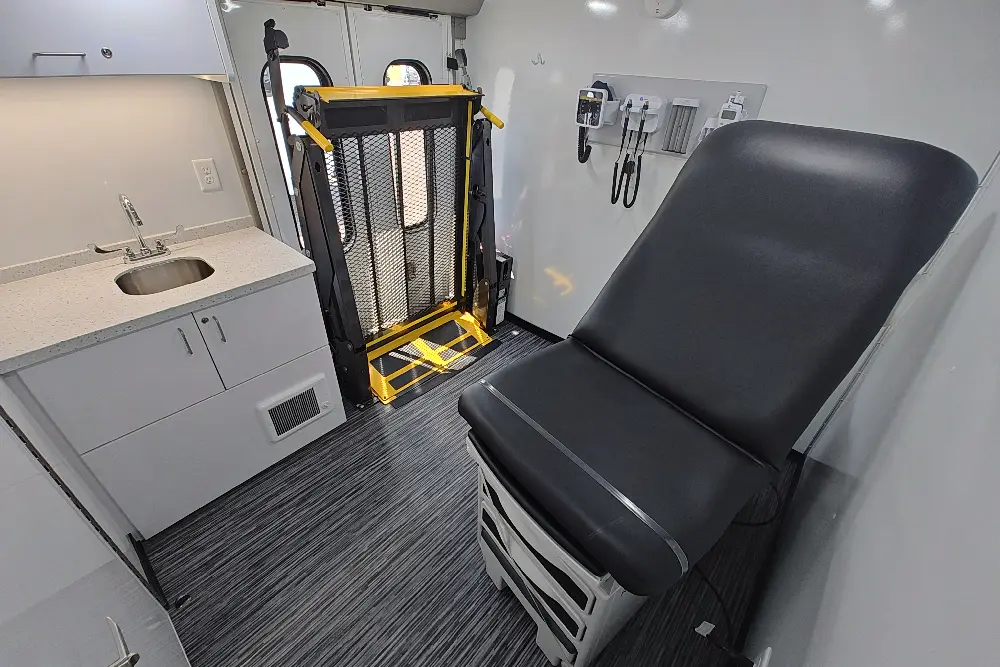
MEDICAL
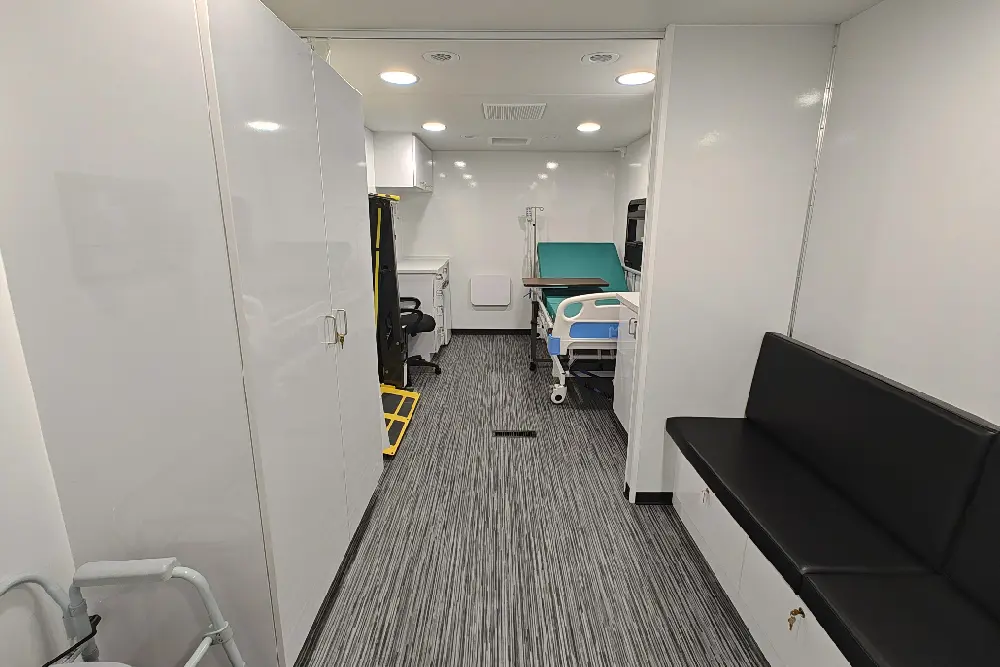
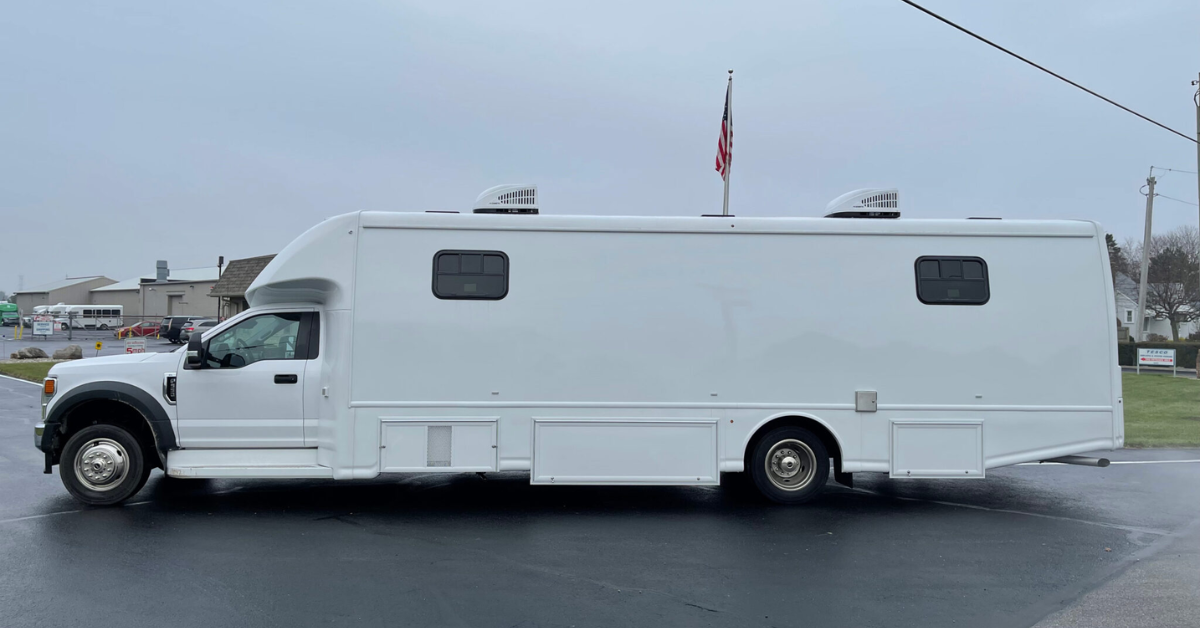
We design and deliver purpose-built mobile medical units tailored to meet the demands of modern healthcare delivery. From general wellness to specialized units, our mobile medical solutions deliver high quality care.
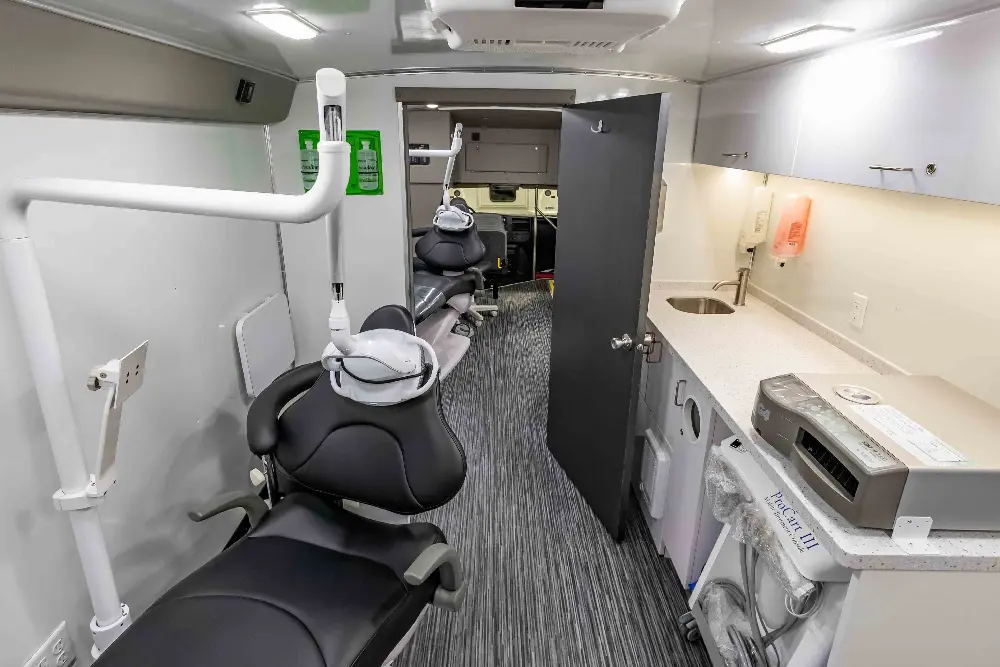
DENTAL
Our custom-build mobile dental units are designed to deliver professional, high quality dental care wherever it's needed.
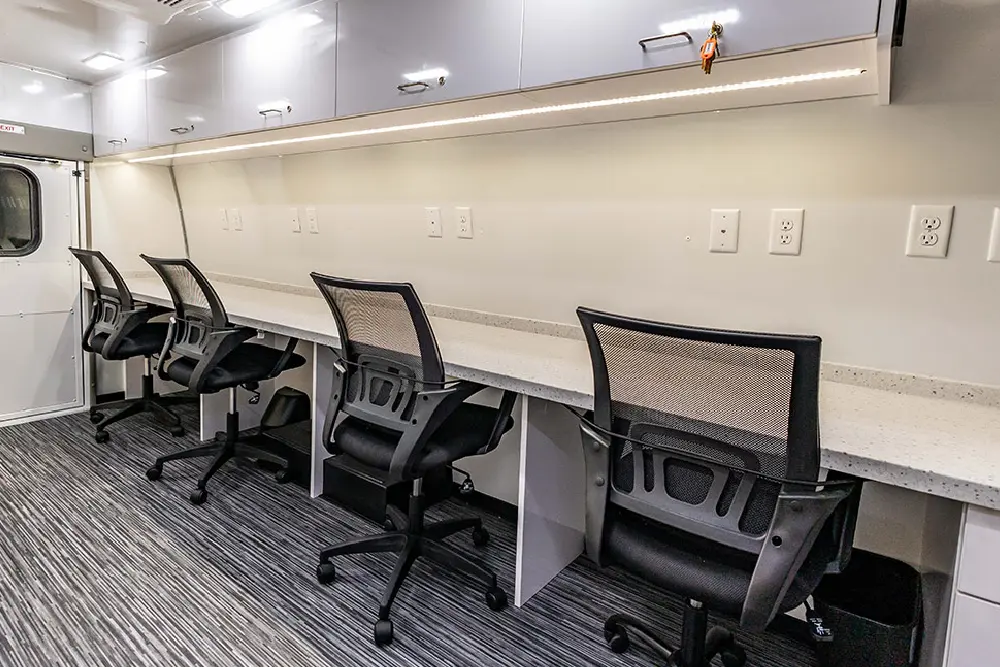
OFFICE
We specialize in providing purpose-built mobile office solutions, including mobile office units and trailers for sale.
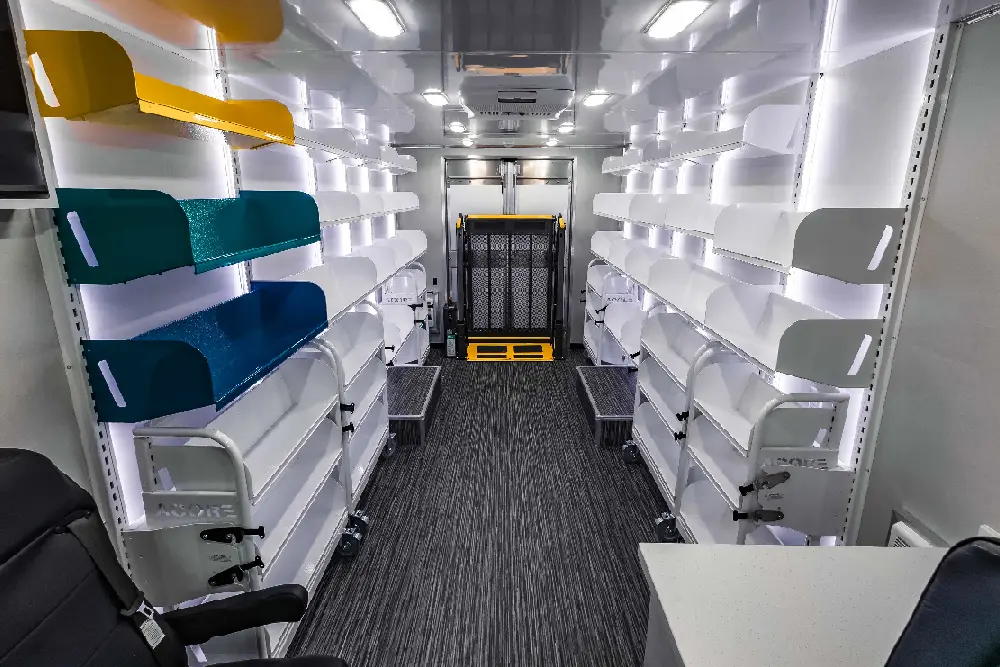
BOOKMOBILE
We are a leading dealer of bookmobiles, with specialized bus features that allow the careful transportation of books. We're dedicated to helping spread the importance of literature in all communities.
SIMULATION
State-of-the-art training unit designed to bring hands-on medical simulation directly to hospitals, schools, rural communities, and disaster zones.
LEASING
Leasing a bus can offer a variety of benefits for businesses or organizations that is looking for a mobile medical vehicle but may be on a tighter timeline.
PRISONER TRANSPORT
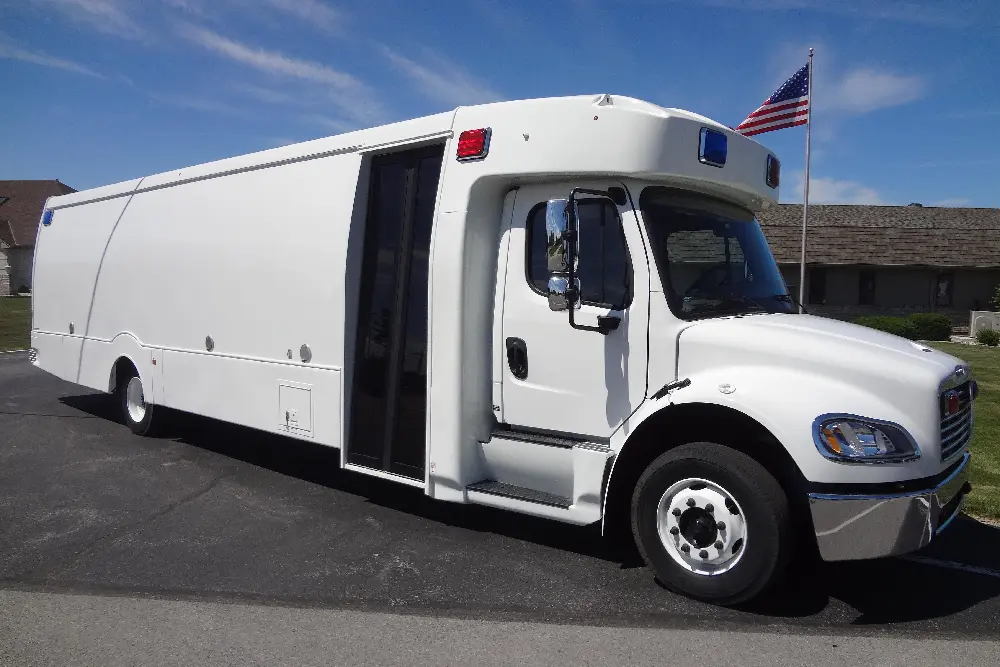
Secure, purpose-built transport vehicles designed for corrections and law enforcement agencies. Configured for safety, visibility, and control, these units ensure reliable and humane transportation for detainees and inmates.
MEDICAL VANS
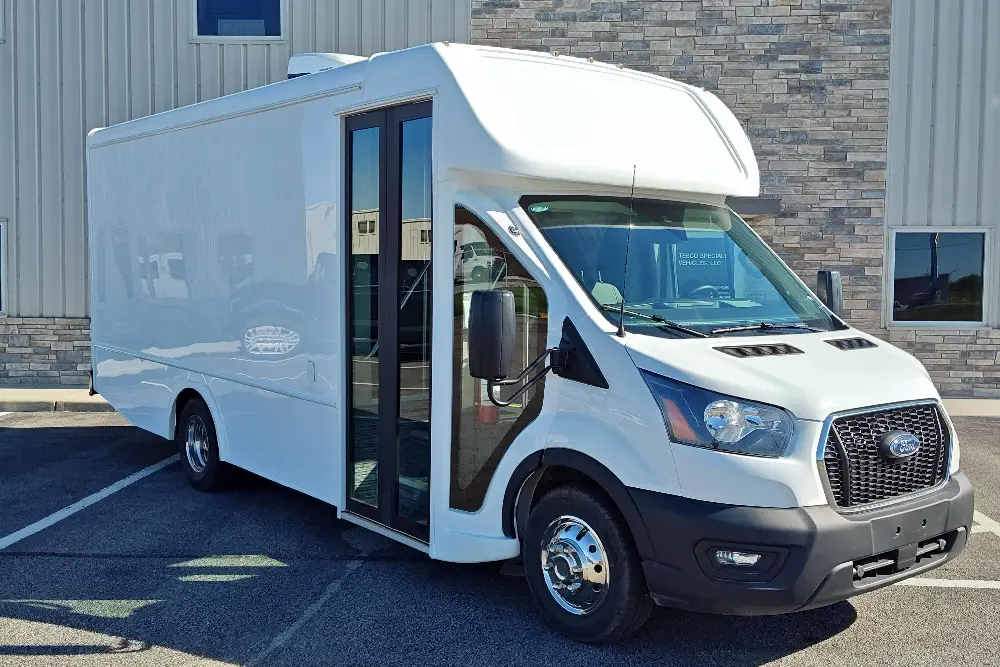
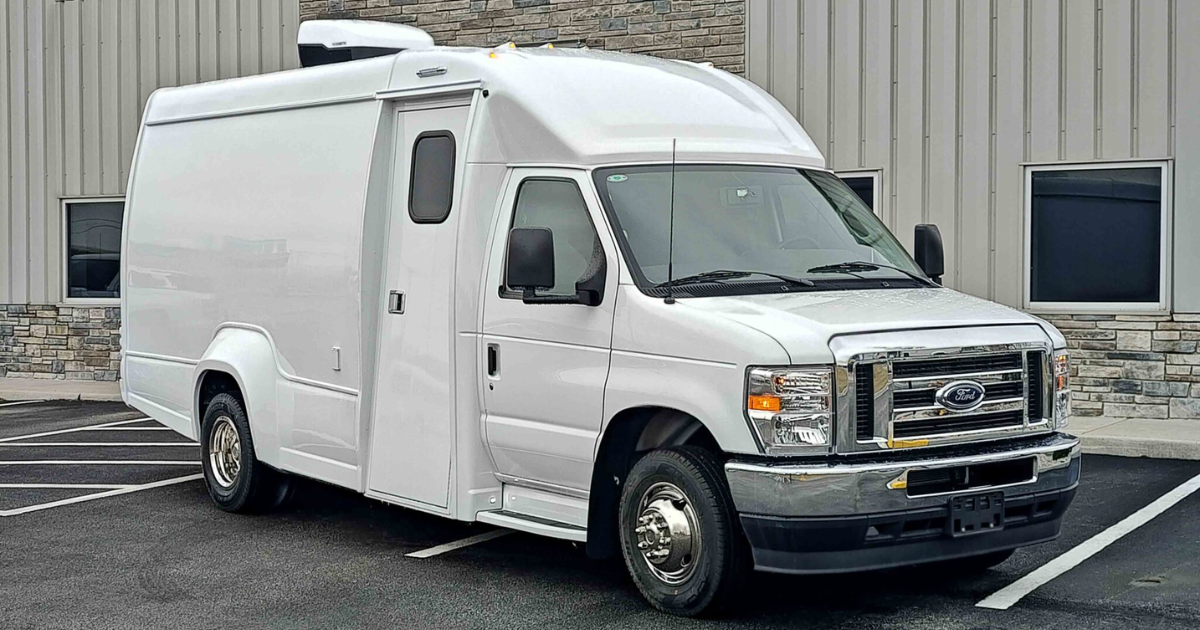
Compact, flexible mobile clinics built on van platforms—ideal for urban outreach, community health, and mobile service teams. No CDL required, easy to park, and ready to go with plug-and-play functionality for a wide range of care missions.
MEDICATION CLINIC
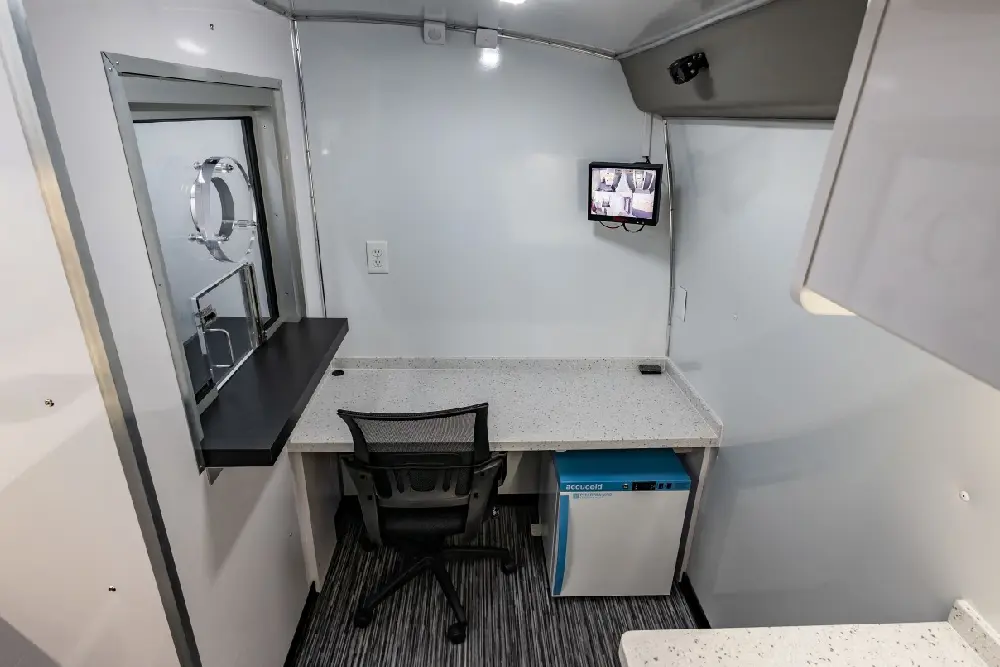
Mobile units designed to support medication-assisted treatment (MAT) in the field. Whether serving rural communities or urban outreach, these units ensure privacy, security, and compliance—bringing life-saving care directly to those in need.
Why TESCO Specialty Vehicles
Our team provides quality and expertise every step of the way, whether you’re looking for a General Health Mobile Vehicle to a Behavioral Health Vehicle.
We also offer leasing and maintenance services to ensure customers can easily get on the road to serve their communities and stay there worry-free. With a commitment to providing expert guidance and support, we’re the go-to destination for anyone in the market for a new or used Mobile Specialty Vehicle.
states are operating our vehicles.
days or less for your new specialty vehicle
vehicles in our leasing program
My experience was very positive. Everyone was very responsive and working with the organization was a pleasure.
Rosanne, Western Michigan University Home Stryker M.D. School of Medicine
Who is TESCO Specialty Vehicles
TESCO Specialty Vehicles has become a leader in specialty vehicles, offering a range of specialized vehicles and services, including mobile medical clinics, mobile dental clinics, mobile behavioral health clinics, command centers, libraries, and consulting clinics.
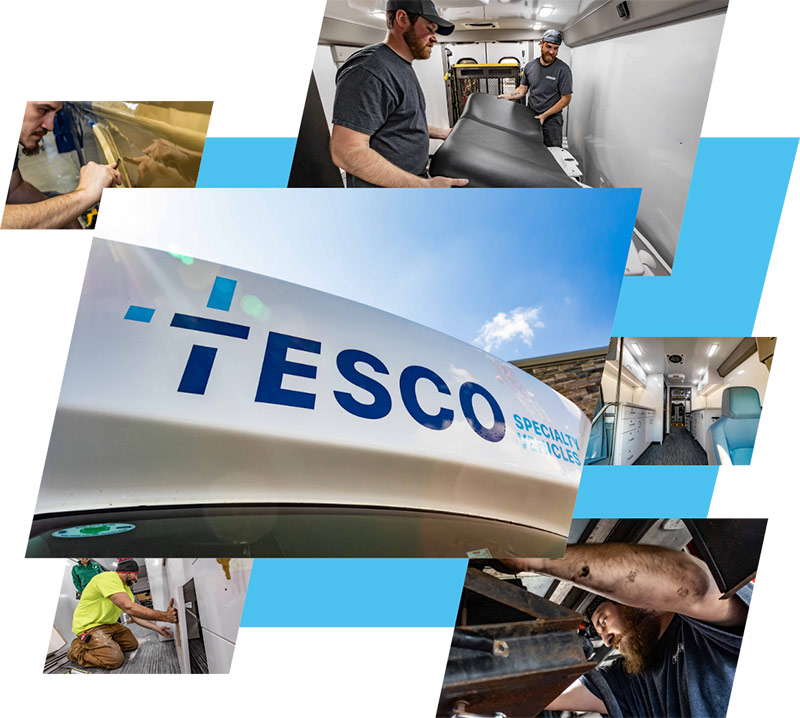
TESCO Specialty Vehicles has continued to expand our services over the years to better meet the needs of clinic buyers. Our on-site parts warehouse, in-house graphics department, and full body and collision repair shop have elevated our efficiency and productivity, which translates to faster and better service for our customers.
Our purpose is to provide customers with specialized vehicles that provide access to medical services in all communities. We strive to help our customers remove barriers to services by building quality vehicles at an industry leading speed. With every customer, TSV seeks to understand their unique needs to build a relevant and resilient specialty vehicle.
Recipient of Redefining American Healthcare Award
TESCO Specialty Vehicles is proud to be the recipient of the Redefining American Healthcare Award by the Healthcare Leadership Council. This award aims to recognize organizations across the nation that optimize care for vulnerable patients.
Tesco Specialty Vehicles Awarded NPPGov Contract
We are proud to announce that Tesco Specialty Vehicles has been awarded an NPPGov contract, making it easier than ever for government agencies and nonprofit organizations to access our industry-leading specialty vehicles through a cooperative purchasing process.
This contract streamlines procurement, offering competitive pricing, compliance with public purchasing requirements, and expedited access to our trusted solutions. Learn more about how to purchase through our NPPGov contract and explore our full range of vehicles. Visit our NPPGov.com Contract
In The News
MOBILE Health Care Act: Delivering Healthcare Equity
Healthcare accessibility remains a pressing concern for many communities in need across the United States. Legislative advancements like the MOBILE Health Care Act (MHCA) are pivotal milestones for these communities. Through the Act, Community Health Centers (CHCs)...
Redefining the Future of Patient Care with Mobile Dental Clinics
Mobile dental clinics bring expert care to patients, particularly in underserved areas. A unit from TESCO Specialty Vehicles ensures care is more accessible, convenient, and patient-centered than ever. Let’s go over what mobile dental clinics are, and how they can...
Offering Accessible Healthcare Services to BGSU Students
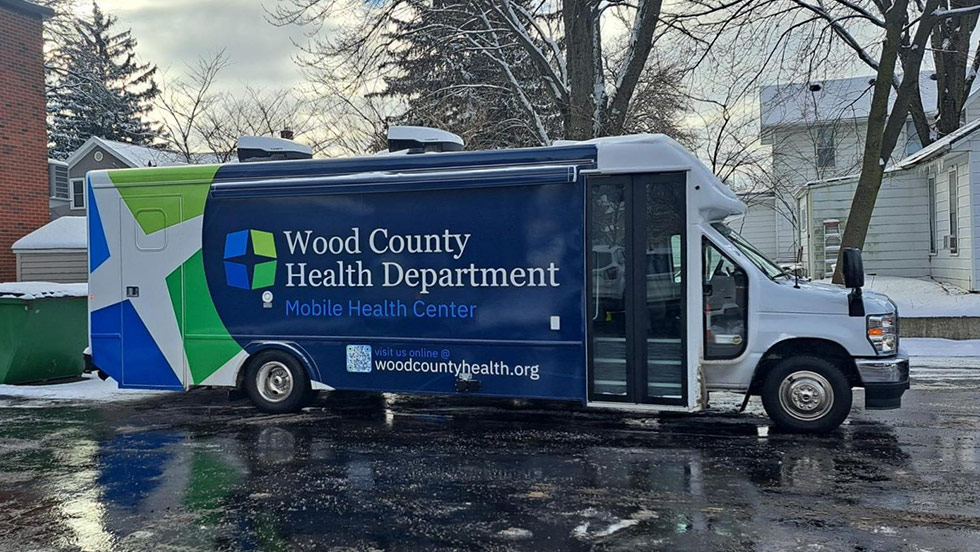
TESCO Specialty Vehicles is proud to help Bowling Green State University (BGSU) introduce its mobile health outreach program. Along with the Wood County Health Department, accessible healthcare is now available to the BGSU community. Services include screenings,...
Just Starting Your Mobile Clinic Program?
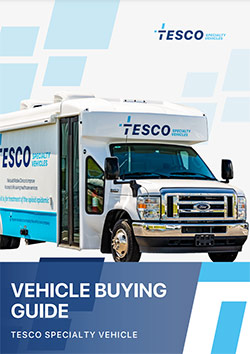
Download our Vehicle Buying Guide to help you confidently start the buying process.
Clients We've Partnered With
Start your Mobile Health Journey in 3 Easy Steps
-
Schedule Your Free Consultation
Schedule your free consultation below to talk with one of our expert sales associates. -
Review Your Needs and Timeline
Once you’ve scheduled your consultation, you will receive our buyers guide that will ask you questions that will help to prepare you for your consultation. This will help to review what type of vehicle you're looking for, its features, budget and delivery timeline. -
Receive Your Floor Plan
Once you have discussed your needs with one of your expert sales associates you will receive a floor plan within 3 days or less of your ideal vehicle to help in your decision and next steps.
TESCO Specialty Vehicles staff is enjoyable and professional when discussing everything from an order to service and warranty. Keep up the good work, thank you!
TESCO Customer, Massachusetts
Start your Mobile Health Journey with TESCO Specialty Vehicles
When you work with TESCO Specialty Vehicles you know you’re getting proven quality from a trusted dealer. Start your Mobile Health Journey with us today to see why we’re one of the largest dealerships handling new and used specialty vehicles sales in the nation.


