Vehicle wraps offer businesses a dynamic way to promote their brand and capture attention on the road. Whether you’re a small business owner or a marketing professional, understanding the process of designing and installing a vehicle wrap is essential for achieving a successful outcome. Here are 10 key steps to guide you through the process:
- Initial Consultation:
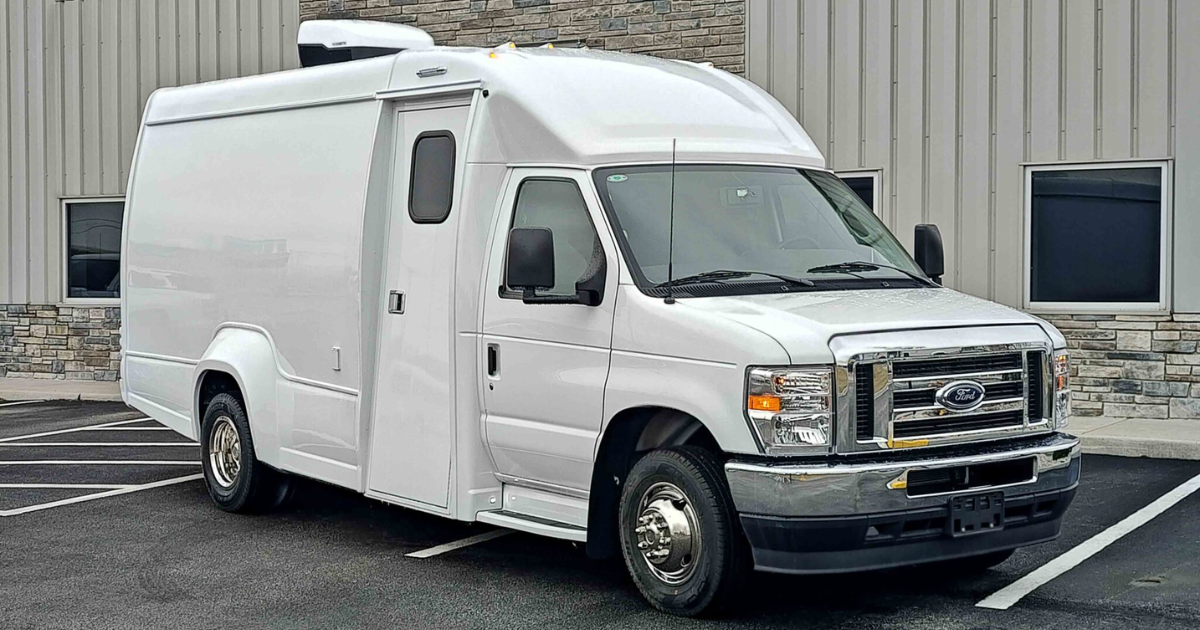
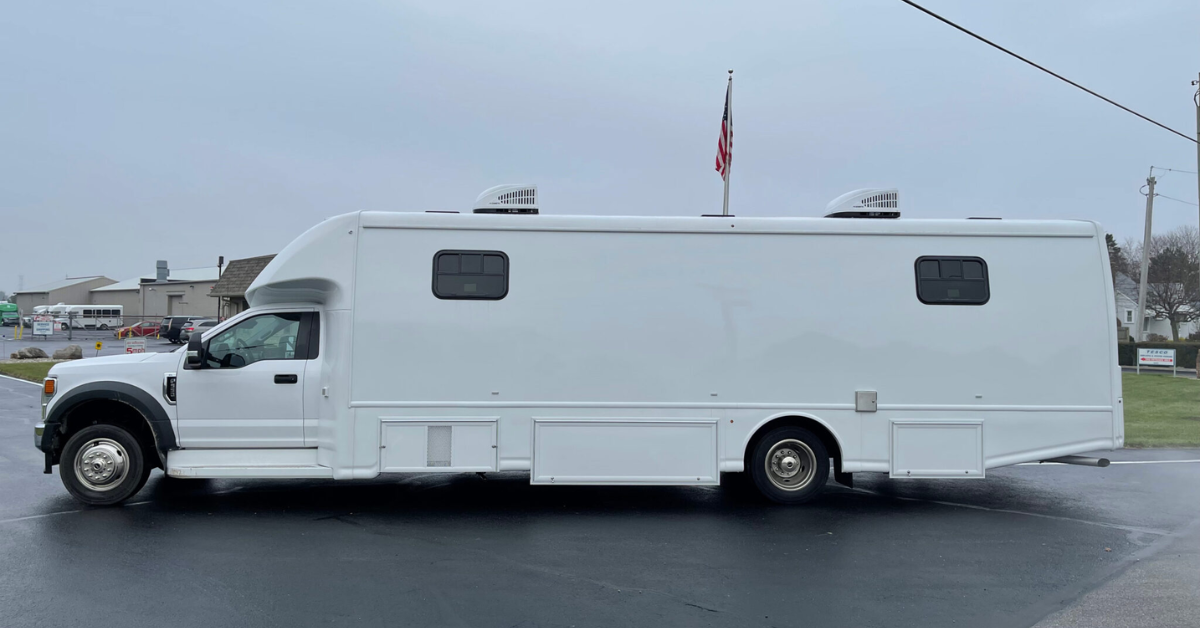
Begin by meeting with the client to discuss their branding objectives, target audience, and budget. Gather information about the vehicle’s make, model, and dimensions to ensure accurate design and installation.
- Concept Development:
Brainstorm design concepts that effectively communicate the client’s brand identity and key messages. Consider factors such as color schemes, imagery, and typography to create visually impactful designs.
- Design Approval:
Present the design concepts to the client for feedback and revision. Refine the chosen concept based on client input and obtain final approval before proceeding to production.
- Preparation and Measurement:
Thoroughly clean the vehicle’s surface to remove any dirt or contaminants. Take precise measurements of the vehicle’s dimensions to create accurate templates for the vinyl graphics.
- Printing:
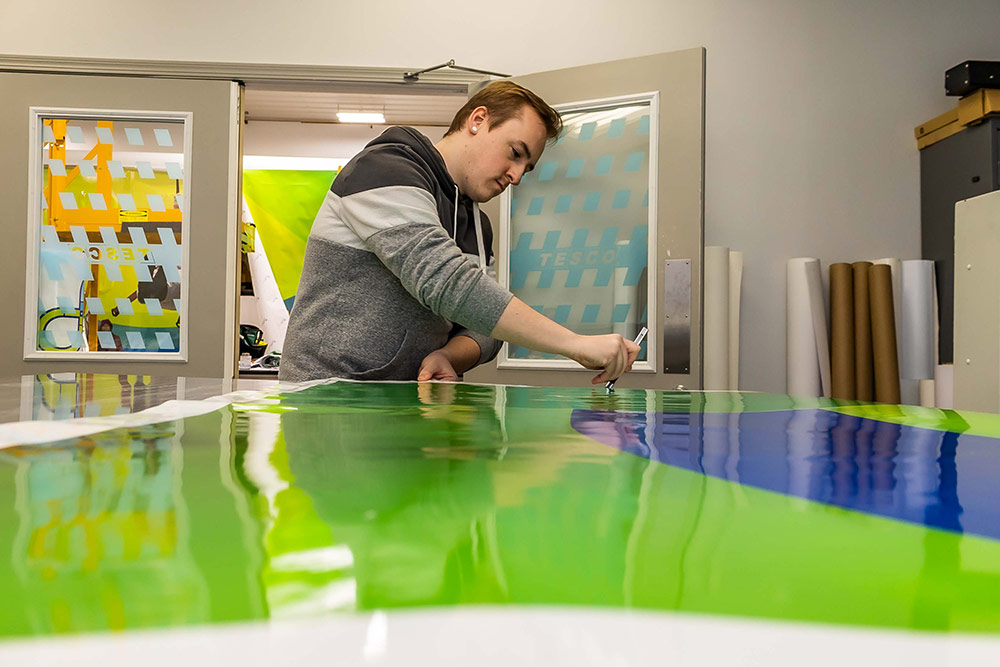
Print the approved design onto high-quality vinyl material using large-format digital printers. Ensure color accuracy and vibrancy to achieve the desired visual impact.
- Preparation of Vinyl Graphics:
Trim the printed vinyl graphics to size and prepare them for application. Cut out individual graphic elements using precision cutting tools to facilitate seamless installation.
- Installation Preparation:
Clean and prepare the vehicle’s surface once again to ensure optimal adhesion of the vinyl graphics. Remove any residue or contaminants that could affect the installation process.
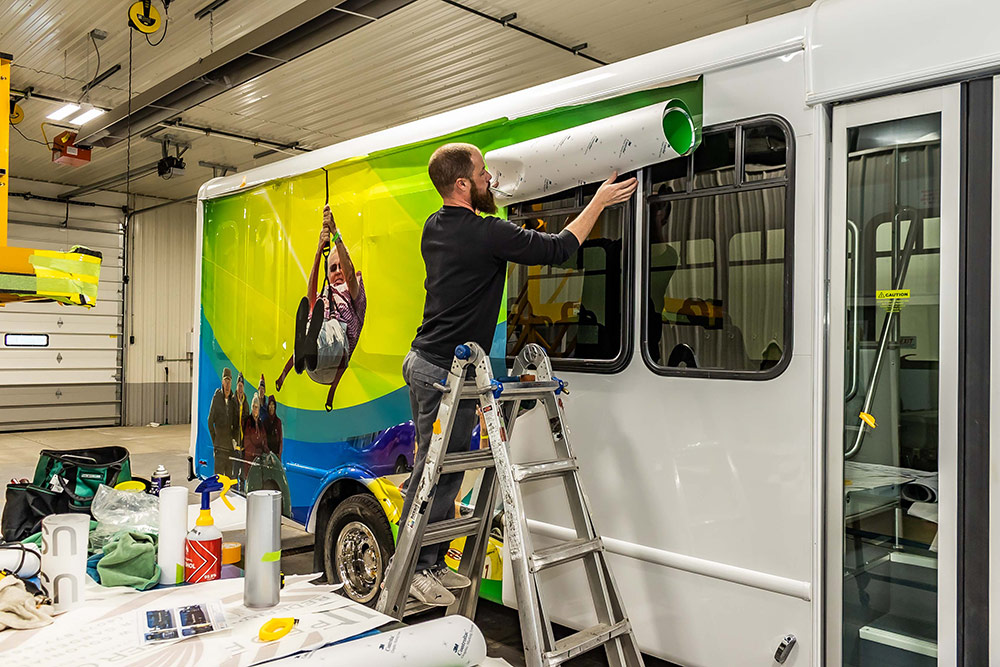
- Installation Process:
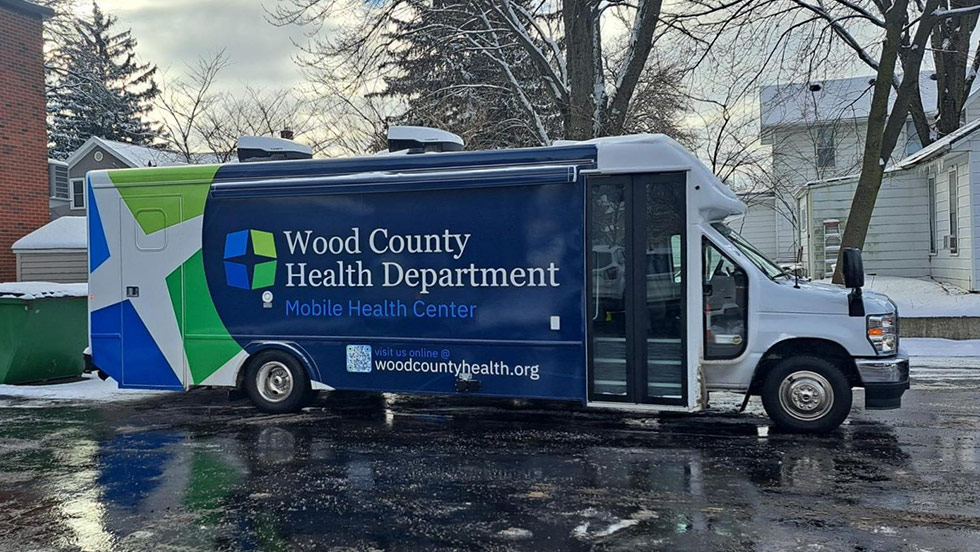
Carefully apply the vinyl graphics to the vehicle’s surface according to the prepared templates and measurements. Use specialized tools to smooth out wrinkles, eliminate air bubbles, and trim excess material.
- Quality Assurance and Final Inspection:
Conduct a thorough inspection of the installed vehicle wrap to ensure proper alignment and adhesion. Address any imperfections or issues promptly to achieve a flawless finish.
Our expert team will guide you through these 10 steps to a successful vehicle wrap design and installation that effectively promotes your brand and captures attention on the road. Whether it’s a single vehicle or a fleet, a well-executed vehicle wrap can make a lasting impression and drive business growth.